One issue I knew I'd encounter is the fact that Garnet's jumpsuit is sleeveless. Since the coverall pattern I'm using has sleeves, I needed to find a way to remove those. Doing this correctly requires the drafting of sleeve facings which are folded to the inside and hid the raw edges of the sleeve holes and provide a finished look.
The first step is to trace the curve of the sleeve openings from the front and back pattern pieces. You then extend those pieces by an inch or so to create the facing. I used two inches. When decideing how wide to make the facing keep in mind that 5/8 of your facing will be consumed by the seam allowance. You should also leave room to finish the raw edges to provide a clean look and prevent fraying.
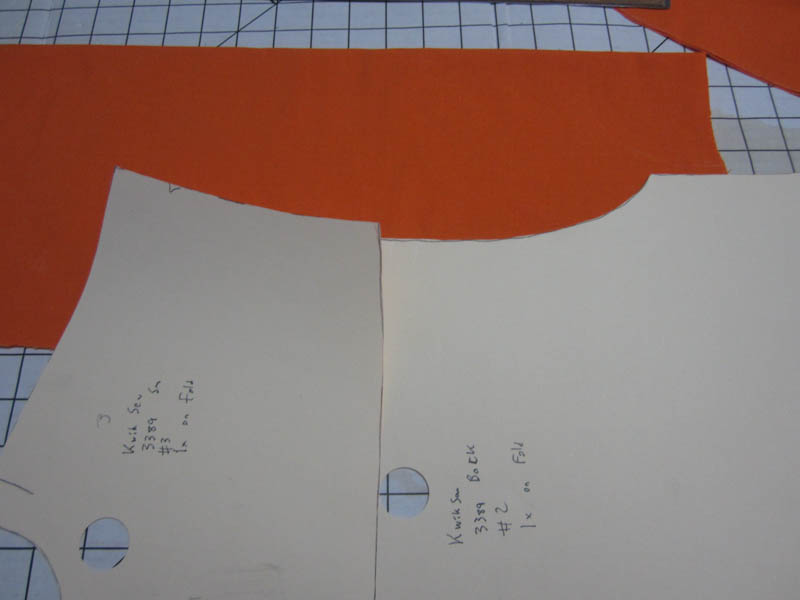
Here, you can see the pattern back lined up for tracing.Since the pattern includes a yoke, you will need to be sure to overlap the yoke piece over the back piece by 5/8 of an inch and then trace the facing. I learned this the hard way after I had to retrace the back facing to include the added yoke piece that I had totally forgotten when cutting the first facing.
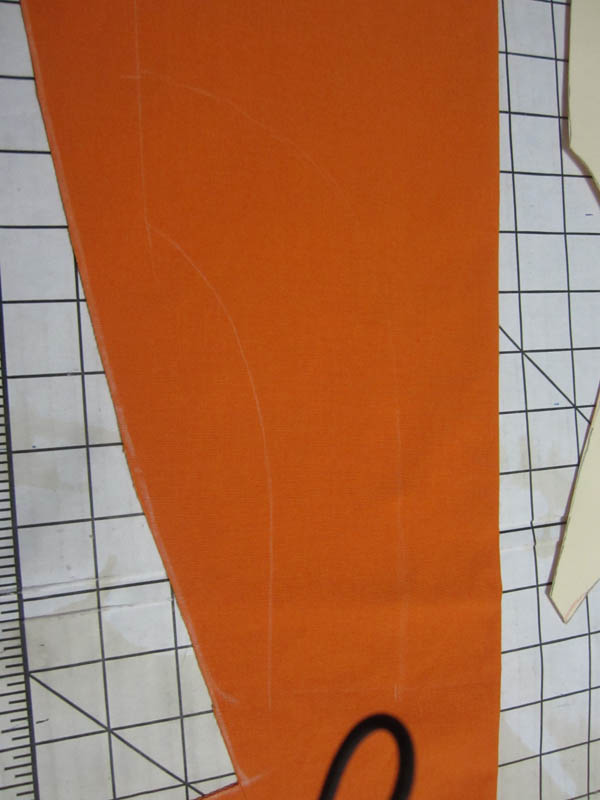
Here you can see the traced piece with the facing width added.
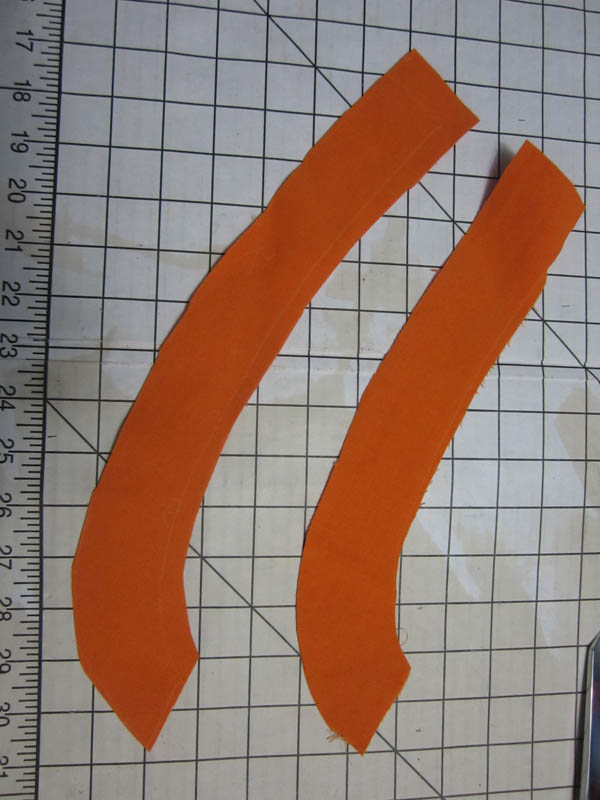
And here is the final front and back facing after cutting.
The facing pieces are then sewn together and the shoulder and side seams to produce a continuous loop of fabric. This loop is then pinned in the armscythe (arm hole) matching right sides. You then sew the facing seam just like you would when attaching a sleeve. The facing is then folded inside and pressed. You will probably want to topstitch around the sleeve edge to hold the facing in place. It is also helpful to tack the facing to the seam allowances of the garment at the side and shoulder seams.