
The craft foam provides a nice base for the shield however it is not durable enough to stand up to regular wearing of a costume and will not take paint well. In order to add strength to the craft foam and provide a smooth surface, I will be coating the entire shield with Smooth On's SmoothCast resin. The resin is a two-part material which will adhere to the foam and provide a hard, stiff coat for durability.
WARNING!!! The resin and the fumes can be dangerous! Be sure to wear proper protective materials and follow all of the manufacturer's instructions!
There are a couple general things I found that make the resin coating process easier.
- The resin will ruin any tools used. Because of this, you do not want to use a paint brush or container that you care about. I usually use disposable cups for mixing and disposable chip brushes for applying the resin. (Chip brushes are a super-cheap type of paintbrush intended for applying epoxy. You can find them at lowes for around 50 cents a brush. If you are near a Harbor Freight store they sell boxes of 100 brushes for around $8-$10)
- You have a very limited amount of time to work with the resin. Because of this, you will need to plan your coating process carefully before you begin. Also, don't try and do too big an area at once as you will not have time to properly smooth out the drips and runs which will occur. Looking back, even trying to do the whole shield at once was probably pushing it.
- It is useful to mount all pieces on short sticks to allow easier handling. You do not want the resin to come in contact with any surface as that will bond the piece you are working on to the surface which will most likely ruin the piece as you are attempting to remove it.
- The resin is very thin and will self level to a limited amount. However, this means that it will also run to the bottom of any vertical surfaces and pool in any depressions. You must be watching for these and smooth them out before the resin cures. They can be sanded out later but it is a lot of work. It is better to do as much as possible to prevent this in the first place!
- Do not overwork in an attempt to get a perfect coating! You will only have 2-3 minutes to work with the resin before it starts to harden (which is why you should only work a small area and not many pieces!) This is generally enough time to get the resin smooth. However if you continue working once the resin starts to cure it will no longer self-level and you will start adding brushstrokes and other imperfections to the surface. It's better just to leave it and fix problems once the coating stage is complete.
- The resin will hide small detail in the finished piece. (it will also fill small holes and other imperfections in the foam). Because of this, you will want to be careful with how much detail you apply before coating. For example, the resin softened the raised edge on the armor for Jaune creating more of a curved rather than hard edge along the raised border.
In general I follow the following procedure for resin coating.
- Prepare three cups. Two of them will be used for measuring and can be reused as long as you remember which cup goes with which half of the resin! Also, due to humidity I do not try and save cups between coating sessions.
- Measure out parts A and B and then pour those into the third cup. Mix them up using a popsicle stick or something similar.
- Once you mix, the clock is ticking. You will only have about 2 minutes before the resin starts getting stiff. This is know as the pot-life or working time. Once it stiffens, you do not want to work it with the brush any further. Trying to work with the resin once the pot life has elapsed will cause a bunch a ripples or brushstrokes and generally make a mess of everything. Once the cure starts, you just have to resign yourself to any defects and fix them in the sanding phase.
- Once the cure has started, it will take 15-30 minutes to fully cure. I usually recoat before the resin has fully cured to allow the next coat to bond with the first. I recommend doing a test batch to see how the resin reacts as humity and temperature can change the cure times.
- I added 2-3 coats of resin to each piece.
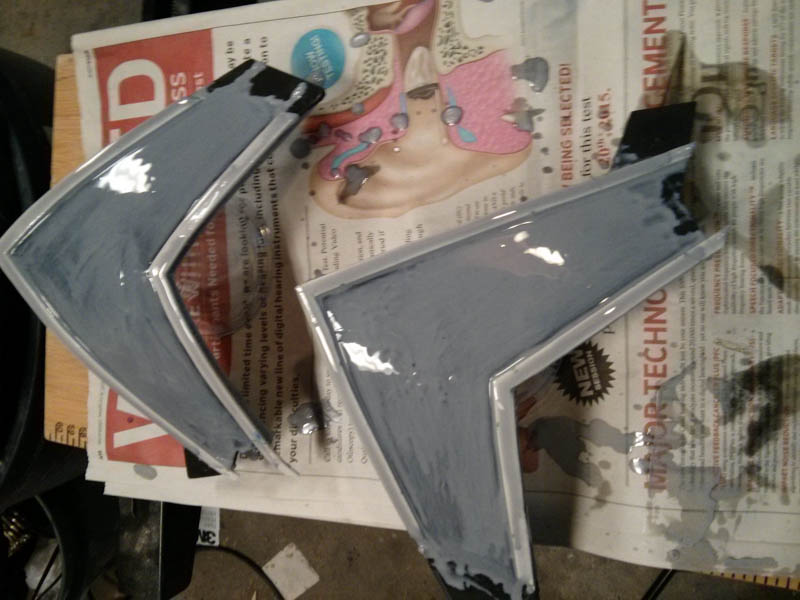
Here you can see the some of the armor during the process of resin coating
The next step is to sand and paint!