When I first attempted to baste the milliskin outer fabric to the denim support layer I kept running into issues. As I sewed the basting, the machine would stretch the milliskin layer and once the stitch was finished there were many wrinkles in the surface. I tried different stitches as well as a walking foot and was not able to keep the milliskin from being stretched.
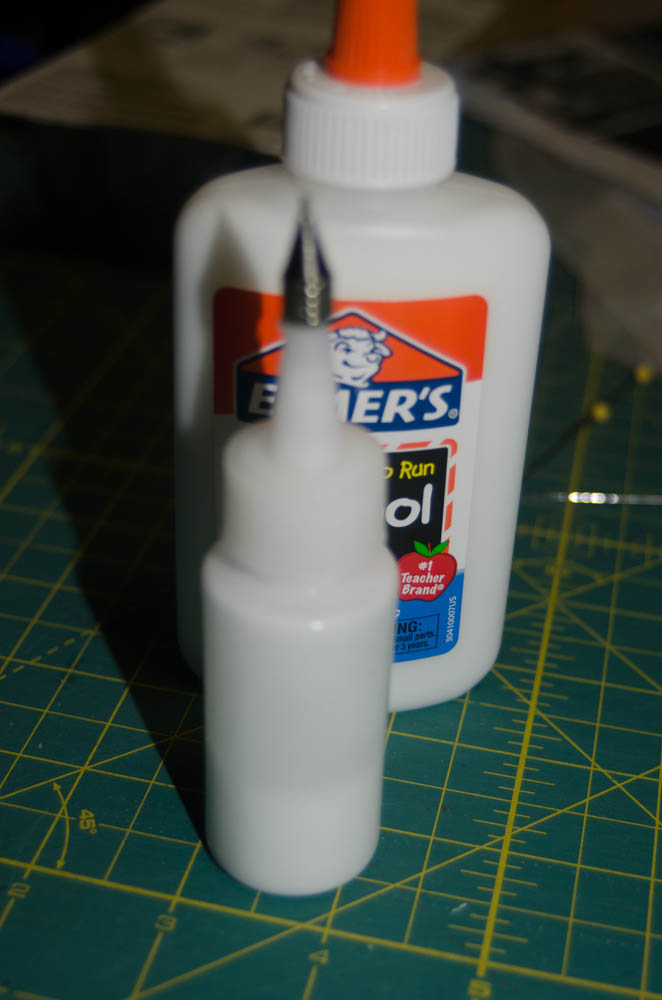
I had some success at using temporary spray adhesive to hold the layers together but did not like the $10/can cost. I did some more research and read about glue basting used by quilters. In this method, ordinary school glue is used to glue the area being stitched. The glue would not gum up the machine and would wash out after I was finished. Curious, I bought a bottle of glue and some small tip bottles that I found on clearance at my local Michaels.
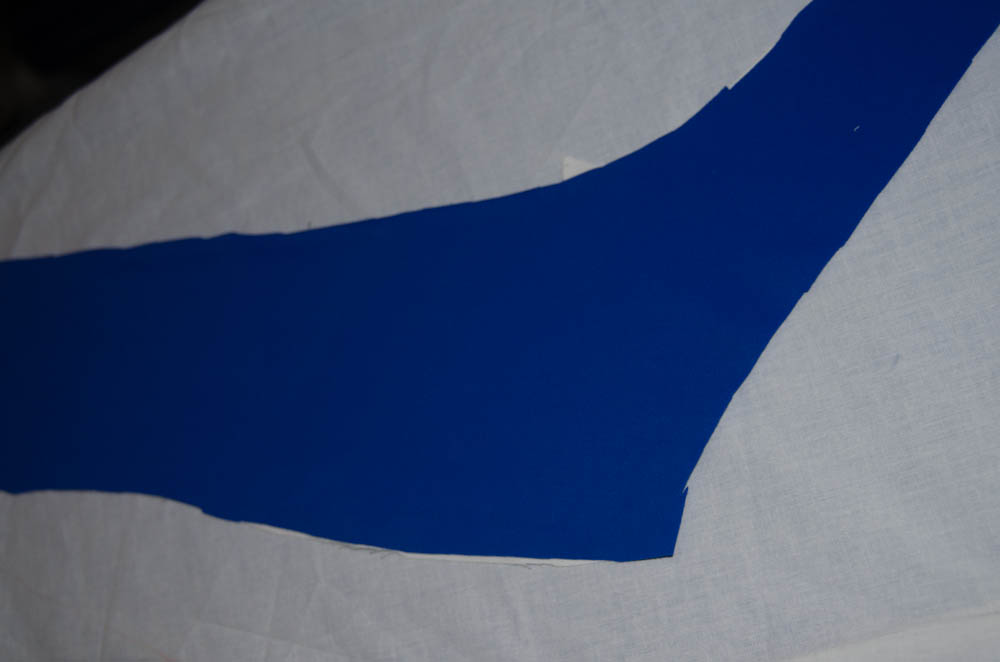
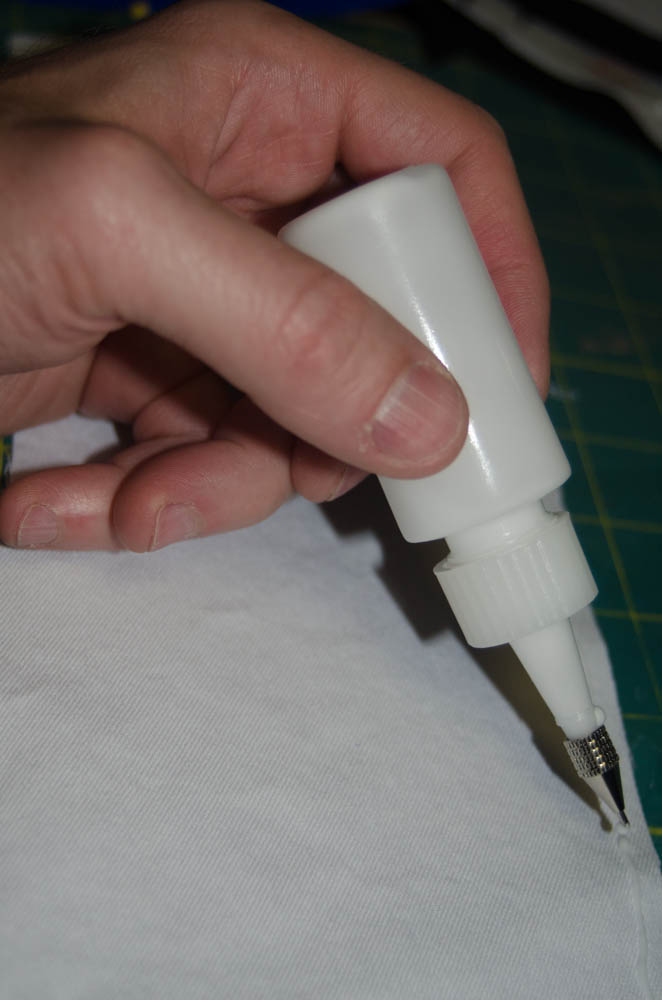
The trick is to lay down a very fine bead of glue. Any large spots can take forever to dry and may end up getting inside your machine if you sew while the glue is still wet.
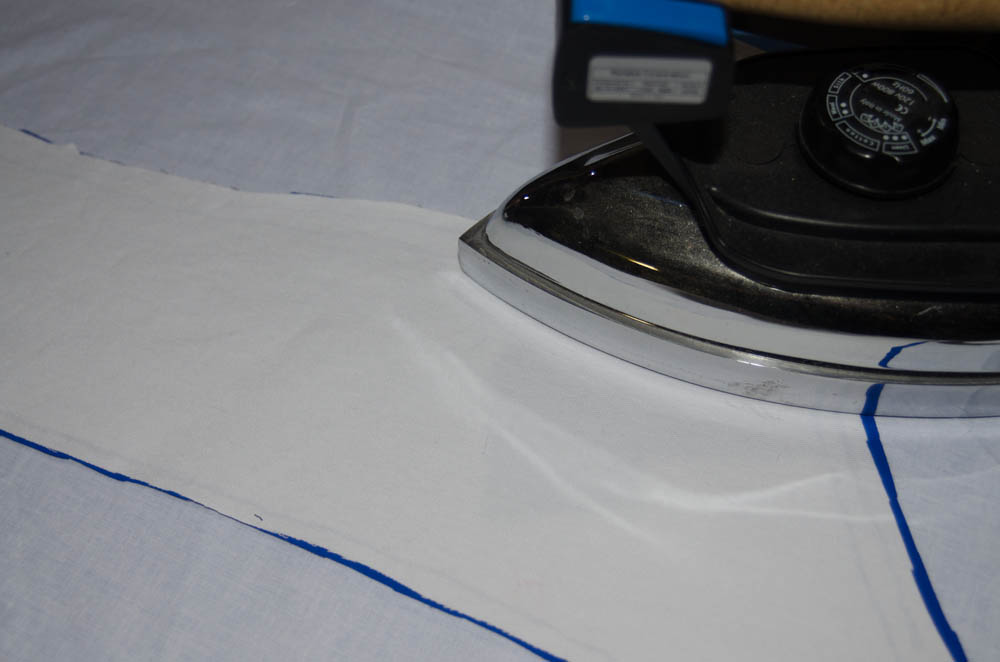
The top layer is then applied and an iron is then used to quickly dry the glue.
Once the glue is dry, you can then sew as normal. I found that this greatly eliminated the wrinkles that I was encountering. As a plus, this takes the place of the basting so I could simply stitch the individual panels together without needing to baste the milliskin to the denim. I also tested and the glue did indeed wash out without any harm to the fabric.