I was at the wonderful Ohio Renessance Fair and finally broke down and bought the pair of boots that I've been wanting for three years! After buying them, I figured I should finally get the rest of the costume put together so I could enjoy the boots! I decided that my character was an archer/forester and decided that a set of bracers would be a great addition to my costume.
After doing some research, I decided on a set of leather bracers since I wanted the final product to be somewhat period-accurate if possible and I wanted to work on my leatherworking skills in preparation for a couple upcoming costume ideas. Before I could start I would need to come up with a base pattern to use for cutting the leather.
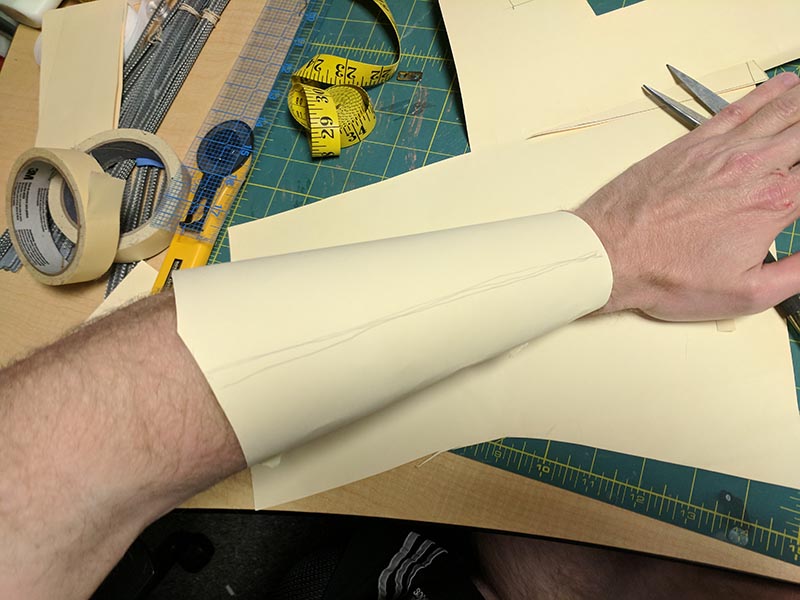
The pattern was created using some spare posterboard that I had leftover from another project. I used the posterboard since it would bend more like the leather and provide me with a pattern that would hopefully work with the leather. I started by measuing my wrist and drawing a rough bracer shape reflecting some patterns that I had found during my research. The width at the top is roughly equal to the distance around my upper wrist where I want the bracers to end and the bottom distance is equal to the distance around my wrist. I will need to go back later and narrow the pattern down to make room for the straps.
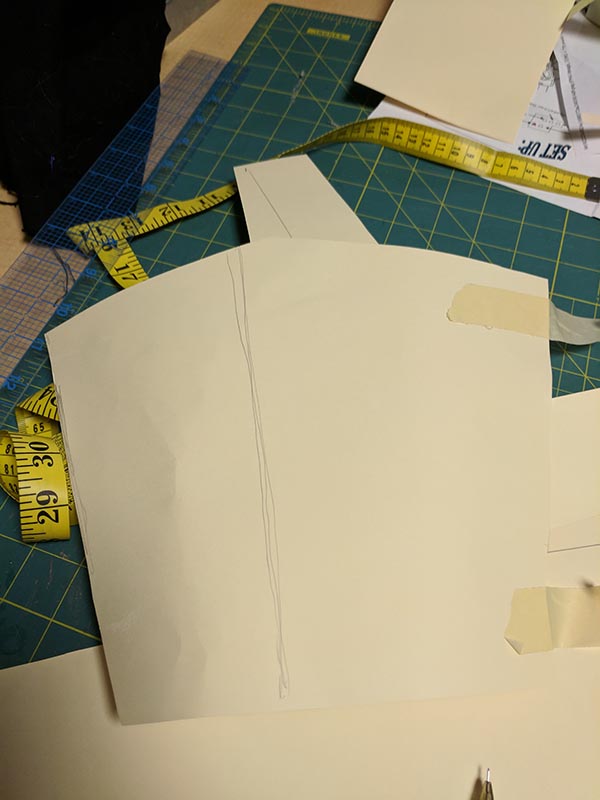
Then I was able to put the bracer on for a test fit. I'm pretty happy with the fit other than the fact that I will most likely take about half and inch off of each side to allow a bit of a gap under the lacing.
From this point you can either cut it out of leather and insert grommets directly in the leather on each side to allow for lacing or add straps or other similar closure method.